:::Ravens:::
This tut was created May 28, 2008 by Aiya. Any similarities are purely coincidental.
Supplies:
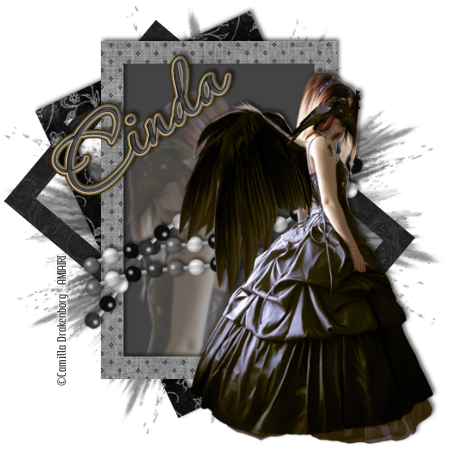
Tube – Camilla Drakenborg from AMI. You need a license to use her work. Obtain one from AMI.
Scrap Kit – Onyx from Sophisticated Scraps by Lisa HERE – However any kit will suffice. Don’t be afraid to try it with other tubes and kits for your own unique look.
Mask & Font of Choice
(Papers 2, 6, & 4)
(Papers 2, 6, & 4)
Instructions:
I suggest renaming each layer as it’s created just in case you get lost if you’re not very familiar with PSP.
I suggest renaming each layer as it’s created just in case you get lost if you’re not very familiar with PSP.
1. Open a new 450 x 450 Image. You may floodfill white if you so desire.
2. Take your selection tool (Rectangle) select an area of space in the center making sure to leave plenty of space on either side. These will be your “frames”.
3. FRAME 1: Take your paper (I used the darkest one for my bottom layer - Paper 6) and Edit/Paste As New Layer. Resize if necessary making sure the “Resize All Layers” box is unchecked.
4. Go to Selection/Invert and then hit delete.
5. Selection/Invert again – then Selection/Modify/Contract by 30 Pixels and hit Delete.
6. Selection/Select All - Selection/Float- Selection/Defloat.
7. FRAME 2: For your second “frame” Repeat step #3 (I used Paper 4) then Selection/Invert and hit delete
8. FRAME 3: For your third “frame” hit Selection/Invert and Repeat Step #3 ( I used Paper 2). Then Selection/Select None
9. Highlight Layer FRAME 1 (Bottom Frame) - Image/Free Rotate – Settings should be Direction: Left; Degrees – Free:50; Rotate Single Layer Around Canvas – Checked.
10. Highlight Layer FRAME 2 - Image/Free Rotate – Settings should be Direction: Left; Degrees – Free:25; Rotate Single Layer Around Canvas – Checked.
11. Add a shadow to each of your Frame layers ( I used VO =(- 2), HO =(2), AO = (63), Blur = (5.8))
12. With your FRAME 2 Layer still highlighted Add a New Raster Layer (Layers/Add New Raster). With your selection tool select out a rectangle no larger or smaller than your Top Frame layer. Fill this space with a color from either your tube or your papers. (This will be your Colored Layer)
13. Paste your Tube (Edit- Paste As New Layer). – Image/Mirror, Resize as desired. I resized mine so that the face was very large. Highlight your Colored Layer and with your Magic wand click on the Colored area.
14. Highlight your Tube layer again and then Selection/Invert – Delete. Change your Blend Mode to Screen with an Opacity of 50. Merge down onto your Colored Layer.
15. Merge Frame layers down leaving the bottom (Floodfill) layer un-merged.
16. Take your Bead Embellishment. Paste as new layer. Place and resize as desired. Duplicate this layer twice. Taking one of the final three layers and Image/Flip and then Image/Mirror. Apply shadow and merge these three layers together.
17. Highlight your floodfill layer Selections/Select all. Highlight your Bead layer – Selection/Invert – Delete
18. Now take your erase tool and erase whatever bits left you desire so that it appears the beads are wrapped around your frame.
19. Take flood fill layer and fill with color of choice. Apply your Mask Layer. I used WSL – Mask 38. Delete Mask and Ungroup Layers.
20. Add Tube as New Layer (Edit/Paste As New Layer) Add shadow.
21. Add Copyrights and Credits. Merge All Visible. Save as PNG file if you want to save your Base. From here add any text desired!
No comments:
Post a Comment